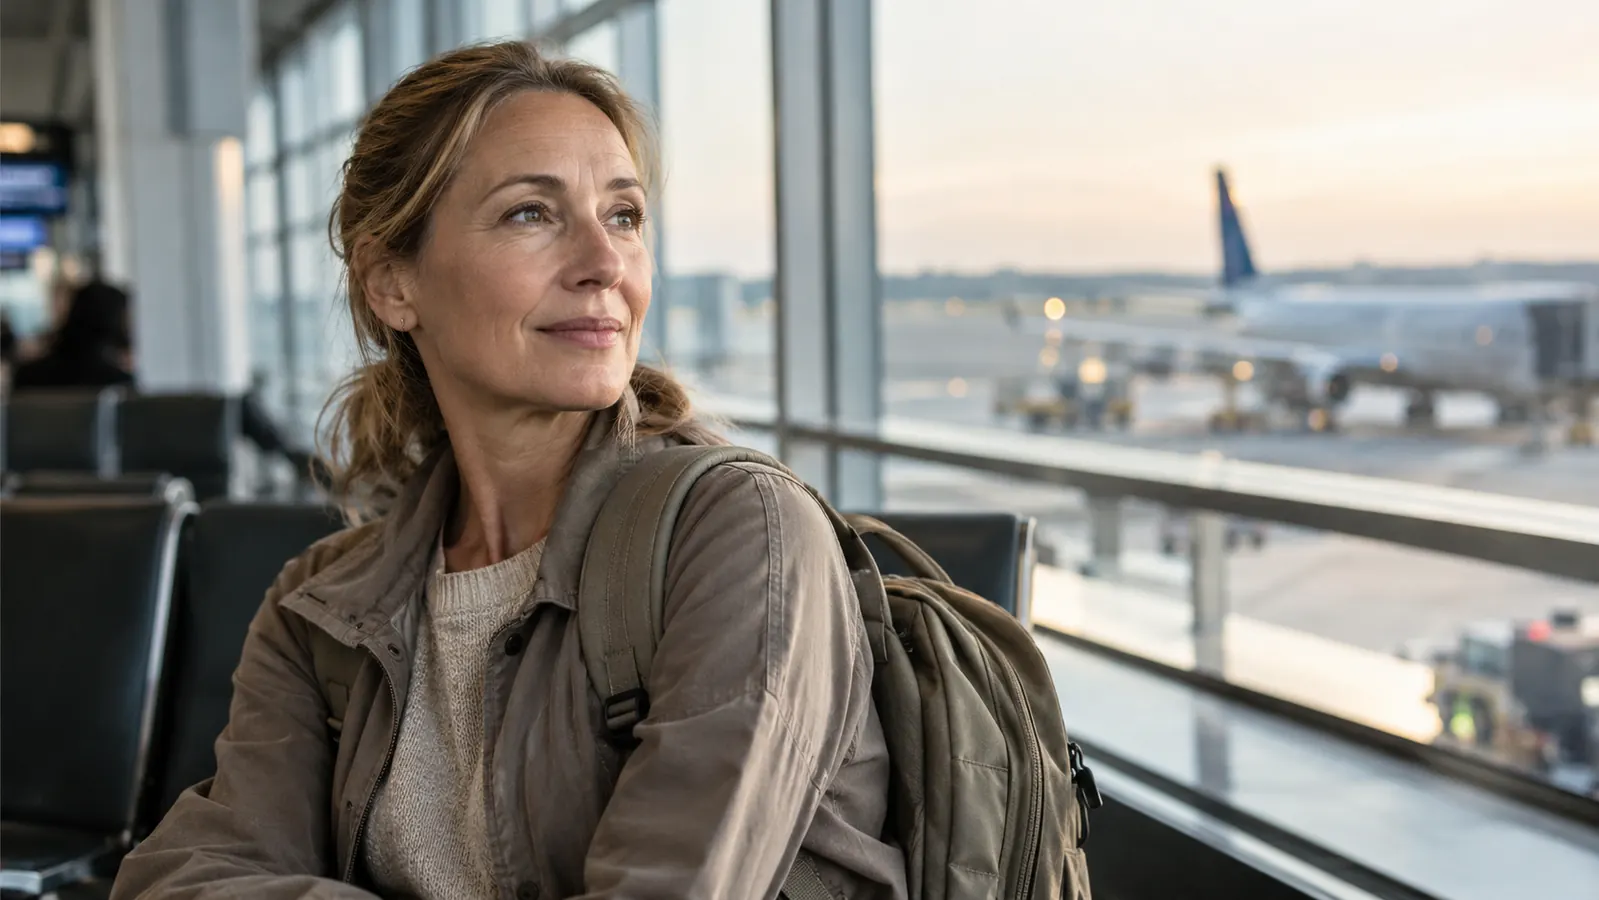
I used to be the person who packed a full-size suitcase for a two-night trip. Then I spent one too many trips wrestling a rolling bag into an overhead bin while my husband Mark stood there with nothing but a small duffel. When I retired from teaching middle school geography, I promised myself I would actually go places, and that meant learning to pack lighter. These days I fly five or six times a year out of Denver International, and for most weekend trips I take one personal item backpack and nothing else. The Taygeer Travel Backpack for Women is the bag I have used for the last couple of years, and this is the exact method I use to make it work.
A personal item is the bag that fits under the seat in front of you, so you can skip the overhead bin scramble and walk straight off the plane. The catch is that it has to fit the airline's size limits, which usually means something around 16 by 12 by 7 inches. That sounds small until you learn to pack in layers instead of piles. Here is how I do it, step by step, with the exact packing list I use.
Start with a bag that actually fits under the seat
The Taygeer Travel Backpack is the personal item I have used for years. It fits the size limits on the airlines I fly, has a luggage sleeve for the rare trip when I bring a roller, and the padded straps make a real difference on my bad left knee.
Amazon Check Today's Price on Amazon →Step 1: Choose the Right Personal Item Backpack
Not every backpack that calls itself a personal item actually fits under a seat. I learned this the hard way with a bag that looked fine in the product photos and then would not slide under the seat in front of me without a fight. The dimensions that matter are the ones the airline publishes, not the ones in the listing, so measure your bag with a tape measure before you fly, not at the gate.
The Taygeer Travel Backpack is roughly 16 by 12 by 7 inches, which has fit under the seat on every flight I have taken with it, including the smaller regional jets. It also has a luggage sleeve on the back, so when I do take a rolling bag for a longer trip, the backpack rides on top of the handle instead of on my shoulder. That matters to me because of my left knee. Every pound I can keep off my body is a pound I do not have to carry through the terminal.
Look for three things when you choose a personal item backpack: a padded back panel, padded shoulder straps, and a luggage sleeve. The padding matters more than you think on a long walk from the gate to the rental car. The luggage sleeve matters if you ever travel with a roller. And the overall size matters most of all, because a bag that is half an inch too big can get you flagged at the gate.
Step 2: Make a List and Cut It in Half
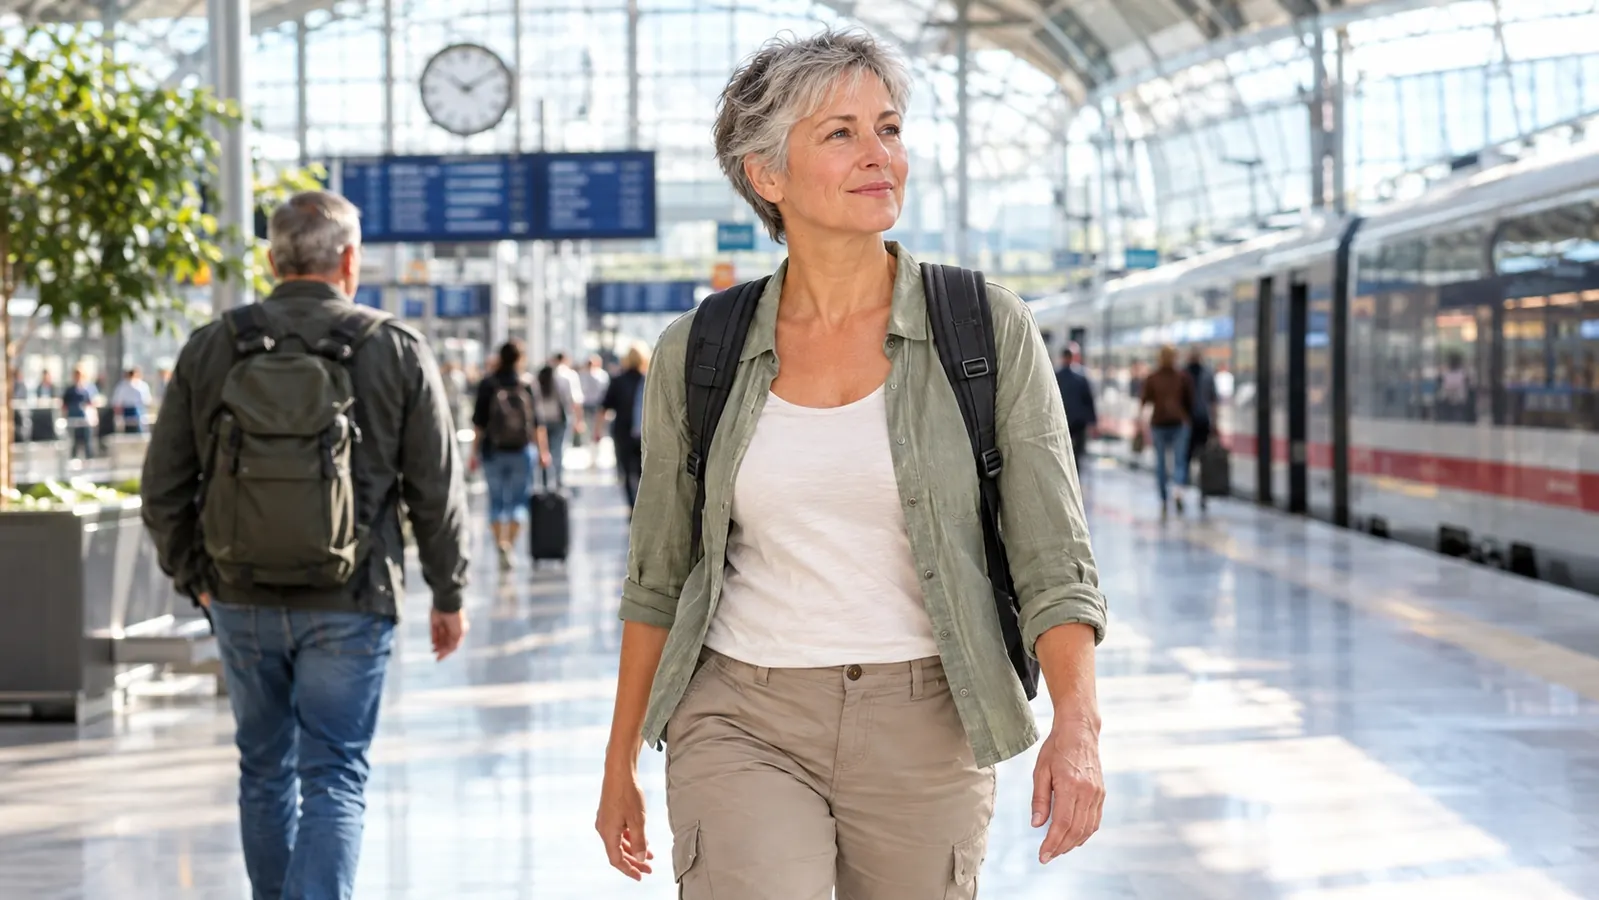
Before I pack anything, I write down everything I think I need for the weekend. Then I cut the list in half. I have been doing this for years and I still overpack the first draft. The trick is to be honest about what you actually use. On a weekend trip, you do not need a different outfit for every meal. You need clothes that mix, one pair of shoes that work for most situations, and a small toiletry kit.
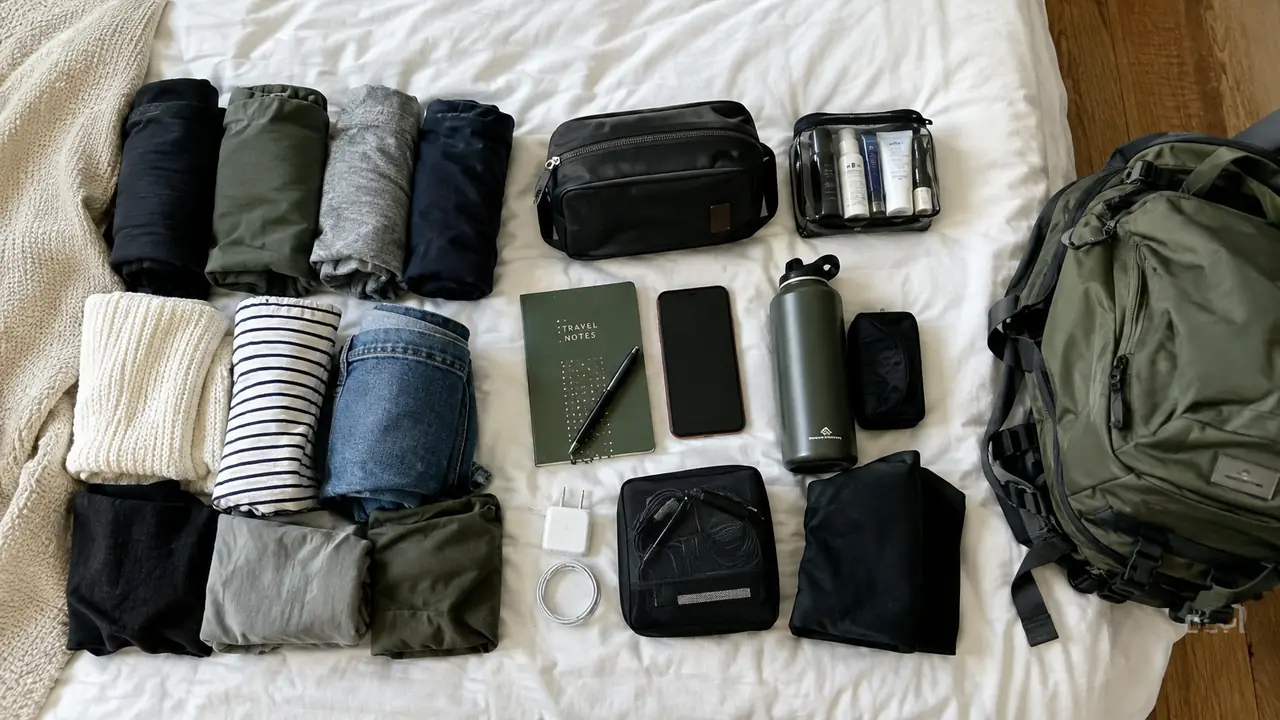
My standard weekend list looks like this: two pairs of pants or jeans, three tops, one light layer like a cardigan or flannel, one pair of comfortable walking shoes, one pair of sandals or slip-ons if the weather allows, five sets of socks and underwear, a small toiletry kit, a phone charger, and a book or e-reader. That all fits in the Taygeer backpack with room to spare, and it covers everything from a city weekend to a short hiking trip.
The biggest mistake I see people make is packing for the trip they wish they were taking instead of the trip they are actually taking. If you are flying to visit family for two days, you do not need hiking boots and a swimsuit. Pack for the weather forecast, not for every possible scenario. You can always buy a toothbrush or a tube of sunscreen at your destination, and you will be glad you left the space empty.
Step 3: Roll, Don't Fold, and Use Packing Cubes
Rolling clothes instead of folding them is the single biggest space saver I know. Rolled clothes take up less room, they wrinkle less, and you can see everything at a glance when you open the bag. I roll each item tightly and stack the rolls vertically in the main compartment of the Taygeer backpack. That way I can pull out one shirt without disturbing the rest.
Packing cubes take this one step further. I use a set of three lightweight cubes: one for tops, one for bottoms, and one for socks and underwear. The cubes keep everything compressed and organized, and they make unpacking at the hotel take about two minutes. I put the cube with socks and underwear at the bottom of the bag, the cube with tops in the middle, and the cube with bottoms on top, because those are the things I am most likely to need first.
If you do not want to buy packing cubes, you can get most of the same benefit with a few large resealable bags. Press the air out before you seal them and you will be surprised how much space you save. The point is to keep the contents of the bag organized so you are not digging through everything to find one sock at six in the morning.
Step 4: Put the Heavy Things Close to Your Back
How you load the bag matters as much as what you put in it. Heavy items like a laptop, a water bottle, or a pair of shoes should go in the compartment closest to your back, right against the padded panel. That keeps the weight centered on your hips and shoulders instead of pulling you backward. A bag that is packed badly will hurt even if it is light, and a bag that is packed well will feel lighter than it is.
In the Taygeer backpack, I put my laptop in the dedicated sleeve, my shoes at the bottom of the main compartment, and my toiletry kit in the front pocket. The water bottle goes in the side pocket. That arrangement keeps the heaviest items closest to my back and the lightest items at the front, which makes the whole bag easier to carry through the airport.
This is also the step where I think about my left knee. A bag that is balanced and close to my body puts less strain on my knee than a bag that swings and shifts with every step. The Taygeer backpack has a sternum strap that helps keep the shoulder straps in place, and I use it on every flight. It takes two seconds to clip and it makes a noticeable difference on a long walk.
Step 5: Keep the Essentials in the Easy-Reach Pockets
The last step is the one that saves me the most aggravation. Everything I need during the flight goes in the pockets that I can reach without taking the bag off. My phone, my boarding pass, a pen, a small snack, and my earbuds all live in the front pocket of the Taygeer backpack. My passport goes in the hidden back pocket, which is also where I keep a little cash and a spare credit card.
The Taygeer backpack has a pocket layout that I have come to appreciate more and more. There is a front pocket with organization slots, a main compartment that opens wide, a padded laptop sleeve, and a hidden pocket on the back panel. The hidden pocket is the one I use for things I do not want to dig for at security, and it is also the one I check three times before I leave the hotel.
When I board the plane, I put the backpack under the seat in front of me with the front pocket facing me. That way I can reach down and grab my phone or my earbuds without unbuckling my seatbelt. It sounds like a small thing, but on a three-hour flight it is the difference between a comfortable trip and one where you are constantly twisting around to dig through your bag.
What Else Helps
A few small habits make the whole system work better. I wear my bulkiest shoes on the plane instead of packing them, which saves a surprising amount of space. I put my liquids in a clear resealable bag at the top of the front pocket so I can pull them out fast at security. And I keep a small empty bag folded flat in the bottom of the backpack for dirty laundry on the way home. That last one means I never have to mix worn socks with clean shirts, and it costs almost no space.
I also learned to pack a small first aid kit with bandages, pain reliever, and motion sickness tablets. Mark laughs at me for it, but I have needed it more than once, and it is easier to carry a tiny kit than to hunt for a pharmacy in an unfamiliar city at nine at night. A reusable water bottle that you fill after security is another small thing that makes a big difference, especially on long travel days.
The moment I stopped packing for every possible scenario and started packing for the actual forecast, my weekend trips got easier and my back got happier.
What I'd Tell You If We Were Sitting at My Kitchen Table
If we were sitting at my kitchen table in Denver with a cup of coffee, I would tell you that packing a personal item backpack for a weekend trip is mostly about deciding what you are willing to leave behind. The Taygeer Travel Backpack has the space if you use it well, but no bag can fix a packing list that is twice as long as your trip. Start with a list, cut it in half, roll what is left, and put the heavy things closest to your back.
I would also tell you that the first trip with a new system is always the hardest. The second one is easier, and by the third you will wonder why you ever dragged a rolling suitcase through an airport for a two-night stay. I have taken this exact setup on flights to visit my grown kids, to see friends in other states, and on a long weekend in the mountains, and it has worked every time.
Pack your next weekend trip in one bag
The Taygeer Travel Backpack has been my go-to personal item for years. It fits under the seat, carries everything on this list, and the padded straps help on my bad knee. If you are ready to skip the overhead bin, this is a good place to start.
Amazon Check Today's Price on Amazon →